INDIANA JONES and THE FATE of ATLANTIS - Step-by-Step Guide
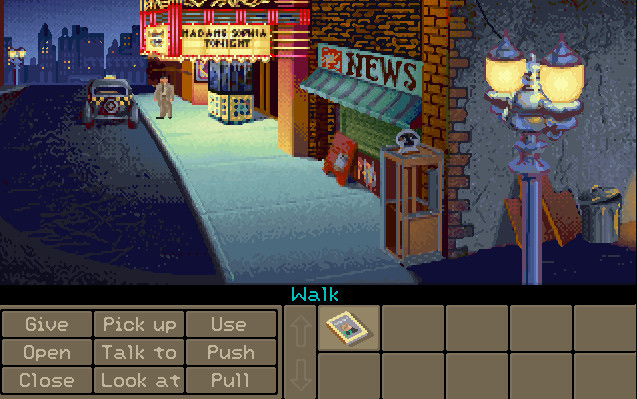
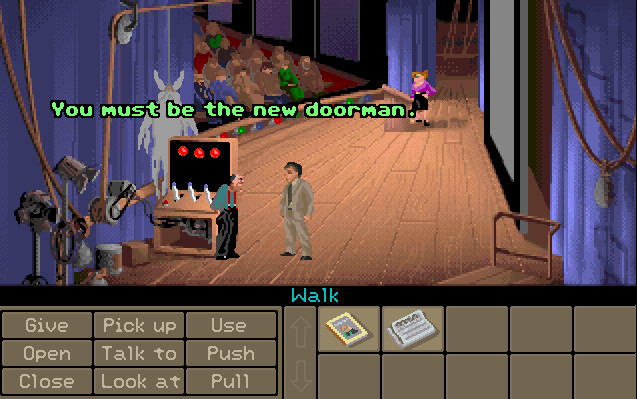
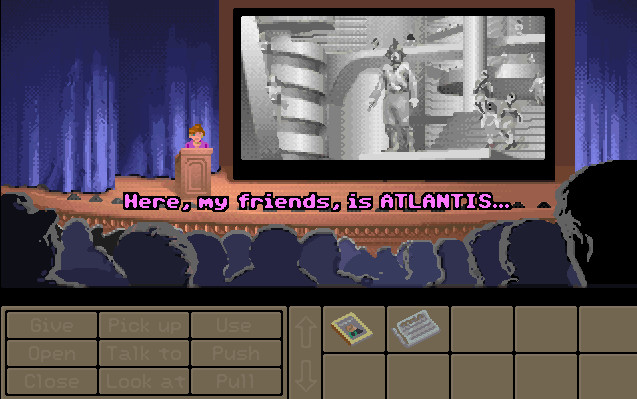
The introduction resembles a full-length film; shortly, we'll meet Sophia, an Atlantis specialist. First, we need to sneak into the lecture through the back entrance. Tell the guard that you admire Sophia because she is smart, knowledgeable, and explains difficult concepts well. The newspaper you grabbed from the street will calm the scene staff. Then manipulate the levers until three green lights light up, and press the button. Once you and Sophia are in her office, ask her a bit about Atlantis. You'll learn that Sophia's guide is Nur-Ab-Sal, a spirit from Atlantis. Here, you must decide which scenario of the game to choose. After a brief conversation with Sophia, we chose to go to Iceland.
In the cave, talk to the archaeologist and ask about the Unknown Dialogues of Plato. You'll learn about the names of two people related to the topic—Costa and Sternhart. Then, go visit the latter.
Enter the jungle boldly. Chase the rat to the right and scare it away with the whip. The attacking snake will release a tree that you can climb to cross the chasm. Then, talk to Sternhart; when he asks you about the title of the Dialogues, answer that you don't know. Approach the parrot in the tree and say "title" to it—it will reply with "Hermocrates." Use the same response when talking to Sternhart.
Inside the pyramid, ask Sophia to distract Sternhart and quickly grab the oil lamp. Oil the ornaments with the lamp and take the bent piece of metal. Attach it to the elephant's head on the left wall and press it. Sternhart will snatch the round stone from the open tomb and escape. Take the orichalcum bead from the tomb. Now, head back to Iceland.
The archaeologist you met earlier has already frozen, but you can see a half-carved head of a figurine—a conger eel—on the wall. Insert the orichalcum bead into the eel's mouth, and this combination of elements will melt the ice around it, allowing you to retrieve the figurine. Now it's time to visit Costa—head to the Azores.
Ask Sophia to talk to the old man and ask him about the Unknown Dialogues of Plato using her mouth. Costa will want something in return for the information—give him the found figurine. Costa will tell you that the Dialogues are in the Prague Collection at Barnett College in the States.
Go down to the basement—grab a rag and a chunk of coal. Now, go upstairs and detach chewing gum from a chair. Climb higher on the rope, take an arrowhead from the shelf, and move the crate to the left. Now, descend on the rope and unscrew the crate lid with the rag. Inside should be the Dialogues of Plato. Read them carefully; the information contained therein will be useful more than once. For now, head to Algiers.
Go left to the antique shop. Take the mask and talk to the shopkeeper; ask how much the mask costs, and you'll get it for free. Go outside and try to persuade Sophia to assist the Arab throwing knives. She won't want to, but as soon as she gets closer to the Arab, push her. As a reward, you'll get a knife, and you'll head to Monte Carlo.
From the street crowd, you need to find Alan Trottier. He's dressed in brown, with a carnation in his lapel, and he has a large nose under gray hair. Talk to him—after two sentences, he'll ditch you. Go to the hotel, where Sophia will tell you to use the name Nur-Ab-Sal. Trottier will ask you a detailed question about Atlantis—the answer is in the Dialogues. Invite Trottier upstairs; don't talk about wisdom or a show.
In the room, tell Sophia to engage Trottier in conversation, and when he places a round stone on the table, take the bedsheet, the flashlight, and turn off the fuses. Dress up as a ghost and scare Trottier. Take the stone and both of you head back to Algiers.
Show the stone to the shopkeeper and ask him for a desert map. The shopkeeper will send you on camels, but the whole expedition will end in a few seconds. Exchange the mask for something colorful—a toy, a scarf, etc. Try to sell it to the man at the nearby vegetable stand—he won't like the color. Go back to the shop and exchange the item for another. Keep trying until you get a piece of meat on a stick from the merchant. Give it to the beggar, and you'll get a ticket for the balloon ride.
Go upstairs and board the balloon. Cut the rope with a knife, and you're flying over the desert.
Controlling the balloon is simple: Vent Hydrogen lowers the balloon, slows down the flight, and turns left; Drop Ballast raises the balloon, speeds up the flight, and turns right. You must land at each of the nomad camps and the oasis. Follow the instructions until you see the "X" mark—land. Move right, and you'll find yourself at the abandoned excavation site.
Sophia will fall into a hole. Descend the ladder into darkness—pick up the pipe, the bottle, and resurface. Siphon some gasoline from the truck's tank and go back underground. Pour the gas into the generator's inlet and start it.
Pick up the curved rib from the ground—bury it in the wall to reveal a tiny hole. Insert a peg from the table into it and place the round stone—Sunstone, one of the three keys to the gates of Atlantis. Check the Dialogues for how to set it up and push the peg. The doors should open, freeing Sophia. In the meantime, Sophia found an amber fish pendant and a distributor cap for the truck. Remove the spark plug from the generator and return to the truck. Install the spark plug and the cap, and you're off—to Crete.
Head left to the excavation site and take the engineering spyglass. Explore all the rooms and remember the drawing on the wall in one of them. Locate the corners in the center of the excavation site. Now, inspect all the taller stones in the area; two of them should reveal carvings—of a tail and a head—when kicked. Set the spyglass on the tail carving and examine it carefully according to the remembered diagram and "shoot." Do the same above the head carving—you'll see the "X" mark on the ground. Dig around with the rib and unearth the Moonstone—the second of the stones.
Turn right and place both stones on the peg by the door. Set them up according to the instructions in the Dialogues and activate the mechanism. You'll find yourself in the caves.
Take two god heads from the shelf. Find the Minotaur statue and whip its head—you'll descend in an elevator. You'll meet Sternhart in a dilapidated state. Pick up the rod and the Worldstone and climb up the chain under the waterfall. Now, you can go to the entrance and quickly grab the third head from the shelf, passing the closing gate. Find another gate with a shelf next to it; place the three heads on the shelf. Inside, you'll find a block on a rope held by a wedge; knock the wedge out with the rod. Now, go around one floor below and poke the rod into the statue's mouth. You'll activate the elevator, which will take you upstairs. Take the box full of orichalcum beads and return to Sophia.
In the adjacent chamber, you'll have to convince her to crawl through a narrow hole and open the door from the other side. Behind the door, you'll find a bricked-up wall. Now you need to use the orichalcum detector, but to avoid interference from Sophia's necklace. Convince her to agree to lock the necklace in a box. The detector will point to the wall; dig it up with the rib.
You'll find yourself on a large model of Atlantis. In the center stands a stone stake; equip it with all three round stones and set them up according to the instructions from the Dialogues. The doors will open, and when you enter, the Nazi Keller and the mad professor will enrich the scene. It turns out that the machinery was used by the inhabitants of Atlantis to transform into gods. After a brief conversation and scuffle, Klaus will bite the dust first, then you'll have to wriggle out of the dubious pleasure of being a guinea pig. Sophia will appear, and she will turn into a ghost! That's the end of the game.